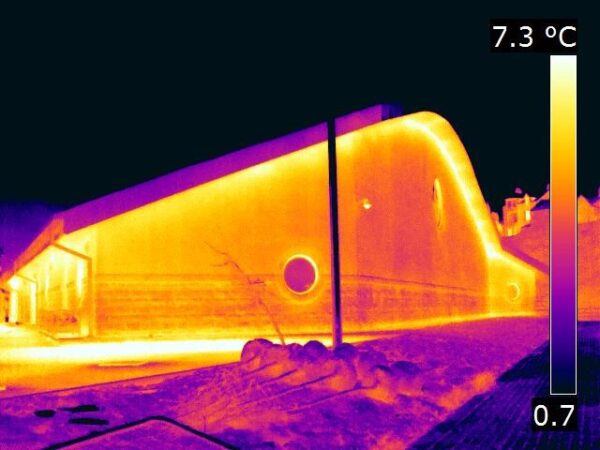
So, why do we undertake thermal imaging to identify air leakage in buildings? Combining air leakage testing and thermal imaging is very efficient method of identifying air leakage paths in buildings. Excess air leakage paths can be quite common in building envelopes, and this can result in a poor climate for the occupiers, due to higher energy consumption as well as ventilation and condensation issues.
So, as we often get asked ‘is a thermal imaging survey worth doing?’ Yes, absolutely, its one of the best ways to identify air leakage paths in commercial buildings. By combining thermal-imaging and blower door testing. Using this combined system, we can either pressurise or depressurise a building which helps to identify the air leakage paths more clearly by increasing the pressure difference over the building fabric. Although air leakage is invisible to the naked eye the thermal camera will identify characteristic patterns that occur when cold air ingress passes through the envelope of a structure as air flow causes surfaces to cool down along its path.
Excess air leakage can cause major problems in buildings, it can allow condensation to form on floors, walls, and ceilings, this can lead to damp insulation which takes a long time to dry, which can also lead to mold and fungi which can be hazardous to health. Undertaking a thermal inspection can easily locate this moisture, which may be invisible to the naked eye. By elevating the temperature in that area, damp materials will be clearly visible as they change temperature at a much slower rate than dry materials.
Combined Blower Door & Thermal Imaging Surveys
Combined thermal Imaging and blower door testing is also useful for spotting thermal bridges in the building fabric. This is areas where less insulation is installed due to extra obstructions in the building design, such as concrete beams, slabs, or columns. Heat will flow from the heated space to the outside along the path of least resistance and across the thermal bridge, which has a much higher level of conductivity than energy-conserving material.
Once a thermal imaging survey has been undertaken and the defects identified, the building company can undertake targeted remedial works to seal the excess air leakage paths to prevent further problems in your building.
Common Areas of Air Leakage Identified During Thermal Inspections
There are many air leakage paths through building envelopes, here are some of the most common we have previously identified during combined air tightness and thermal surveys.
- Ductwork and service penetrations where the main services enter the building. We have encountered many tests where a water and electrical ducts has been left unsealed where it enters building.
- Around the bottom of the external cladding.
- Powered roof lights not shutting properly.
- Wall/floor junctions to all areas including kitchen and utility cupboards.
- SVP and waste pipe penetrations passing through external walls and ceilings.
- Services that pass behind all IPS panels in toilet/shower areas. IPS panels are not airtight and should not be used as the air seal line.
- Cupboards that are not re compartmentalised from the rest of the building. If they are not adequately sealed, they act as a chimney and air will escape from each floor level into the roof space.
- Unsealed bath and shower tray panels.
- Background trickle ventilators, passive ventilation systems and any permanently open uncontrolled natural ventilation openings should be temporarily sealed.
- Mechanical ventilation and/or air conditioning systems that are not turned off and/or are not temporarily sealed.
- External door/windows that are not shutting tightly against the seals and the frames are not sealed against the surrounding wall reveals also trickle vents are damaged or missing.
- Internal doors that are not sealed at the floor junction.
- Internal sliding doors with unsealed pocket boxing.
- Where dot & dab plasterboard has been fixed to the inside face of block work perimeter walls and there is an unsealed gap In between the bottom of the plasterboard and the structural floor.
- Unsealed perpendicular mortar joints
- Unsealed cavities and roof voids as well as holes that bridge the cavity or roof void.
- Unsealed block work that has not been painted
- Poorly finished cladding at perimeter joints of individual sheets, areas where it meets at different angles (e.g. wall plate steel and roof pitch) and at the point where it meets windows, doors or block work.
- Around areas above the suspended ceilings, as suspended ceilings are not designed to create an air-tight barrier, the air escapes above the suspended ceilings via the plasterboard and perimeter junction above.
- Around switches, sockets, and light fittings housing in plasterboard.
This is just a brief summary of the air leakage paths found during our combined thermal and air tightness testing. Please check our thermal imaging checklist for more information on how to prepare for your thermal imaging inspection.
Please contact us for more information on our Thermal Imaging Services
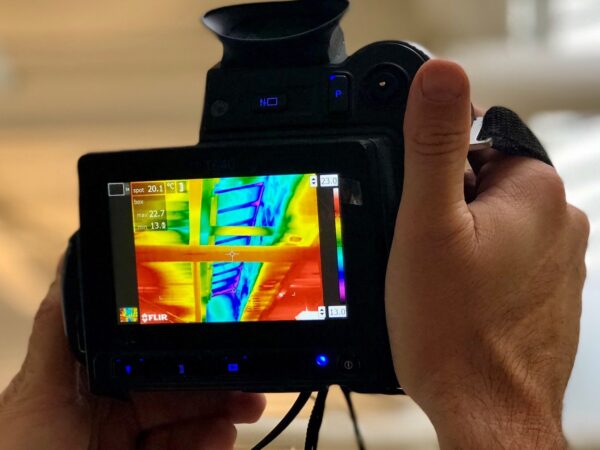
We have many years’ experience in all aspects of engineering, construction, maintenance, management, and professional survey work and all our thermographic surveys are conducted by engineers qualified in accordance with BS EN 13187
Our thermal imaging equipment is the best and most accurate on the market, ensuring we pick up faults that other equipment may miss. Our reports are professionally presented and are clear, concise, and easy to follow. We endeavour to give our clients a first class service every time.
If you would like to contact us for more information on our thermal imaging services, please contact us on 01525 303905 or email us at info@aptsoundtesting.co.uk.