
In most cases a blower door system is used to measure the airtightness of residential and commercial buildings. The fan system can also be used to measure airflow between building zones, to test the air tightness of ductwork and plenums, and to help locate air leakage paths within the building envelope.
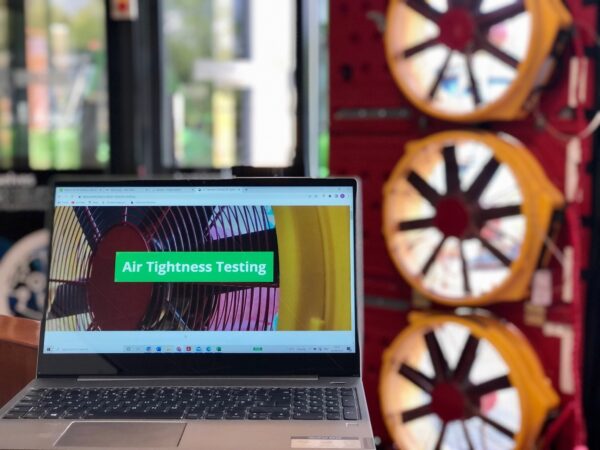
Air tightness testing is performed by a blower door system that measures the amount of air that escapes through gaps or air leakage paths throughout a building’s fabric. This is done by pressurising the building to 70Pa, using a blower door system, and measuring the pressure differences between the inside and outside of the building. Please see the video below that shows how an air tightness test is carried out.
It’s worth noting that an airtight building can help save energy by limiting the reliance on space heating and creating a more thermally efficient and draft free core. Airtightness is part of a fabric first approach to building designed to limit reliance on space heating and/or cooling and can save huge amounts of money over the building lifecycle.
Good Building Air Tightness Saves Money
So, we know an airtight building can help you save energy by improving thermal efficiency and reducing space heating costs; but by how much? As a rule of thumb, Improving, airtightness from 10m³/hr/m2 to 5m³/hr/m3 will reduce energy demand (and consequently cost) by approx. 22 per cent, this applies if everything else remains the same. So, an annual £2500 energy bill on a medium size dwelling could be lowered by as much as £550 per year; oh, and by the way the air tightness test costs approx. £300. Taking this into account, why wouldn’t you undertake an air tightness test when the payback is around 6 months.
When you look ay bigger building the savings could be huge. For instance, an existing Victorian school may very leaky, maybe above 15m3/hr/m2, if you are able to lower the air leakage rate to 5m3/hr/m2, then you may be able to lower your heating costs by 30%, that’s a lot for building that may use around £100K per year.
There are several ways to make your building more airtight. Some masonry, such as internal blockwork can be made airtight with the addition of a parging coat (a thin layer of mortar) or by the application of masonry paint, while monolithic systems such as insulating concrete formwork (ICF) perform well. Glazing is also airtight, so in most cases it’s the junctions between dissimilar materials that need to be focused on.
Optimising Your Building for Airtightness
The basic principle is to establish an air barrier line all the way around the building, including its walls, floors and roof. This is similar to the thermal envelope that is used to establish the boundary for insulation.
A holistic approach is required – in other words, every aspect of the house needs to be considered. The recommendation in Passive house guidelines is to draw a red line on the detailed plans to show where the barrier will lie.
This barrier line can be drawn either inside the structural members of the building or outside of it, but cannot be a mixture of both, as this introduces great complexity and is a recipe for failure.
The Most Common Air Leakage Paths in Buildings
there can be literally hundreds of possible air leakage paths in buildings; however, in our experience the most common areas are as follows:
- Gaps in and around suspended timber floors.
- Leaky ceiling lights in kitchens etc.
- Leaky windows or doors.
- Leaky pocket door (internal sliding doors)
- Pathways through floor/ceiling voids into cavity walls and then to/from the outside.
- Gaps around windows and doors.
- Gaps at the ceiling-to-wall joint at the eaves.
- Open chimneys and air bricks
- Gaps around loft hatches.
- Service penetrations through ceilings.
- Vents and waste stacks penetrating the ceiling/roof.
- Bathroom wall vent or extract fan.
- Kitchen wall extract fan and cooker extractor hood.
- Gaps around water and waste pipes.
- Boiler Flues.
- Service penetrations in air/ground source cupboards
- Gaps around kitchen waste pipes.
- Gaps behind the kitchen/utility units at the wall/floor junction – no skirting installed.
- Gaps around floor-to-wall joints (particularly with timber frame).
- Gaps in and around the tops of internal walls.
- Pipe penetrations in bathroom/shower rooms.
if a building fails the air tightness test, don’t panic! we use the latest smoke testing equipment to located the air leakage paths so they can be sealed by your site teams.

Our Air Tightness Testing Services Include:
- Commercial air tightness testing to large buildings
- Residential air tightness testing
- Passive House testing
- Smoke leakage surveys with defect reports
- Air testing to raised floors
- Air testing to plenums
- Air testing to hospital isolation suites
- Air testing (integrity testing) to rooms protected with fire suppressant systems
- Air testing to clean rooms
We can undertake your air tightness test
Contact us today to learn more about our air tightness testing services and how we can help you achieve a sound test pass in compliance with Part L of Building Regulations.
For more information, please contact us at: info@aptsoundtesting.co.uk or visit us at www.aptsoundtesting.co.uk
Accreditations & Technical Competence
APT Sound Testing is a UKAS‑accredited ISO/IEC 17025 testing laboratory specialising in on‑site (field) air tightness testing for commercial and large‑scale buildings. Our accreditation demonstrates that all testing, reporting and quality processes meet the highest technical and procedural standards recognised in the UK.
We are an ATTMA Level 2 registered organisation, qualified to test Large, Complicated and High‑Rise (LCHR) buildings, as well as phased and zonal hand‑over projects. In addition, we are ATTMA EA accredited, enabling us to produce accurate and compliant envelope area calculations for complex commercial structures.
With over 20 years of specialist experience, using the latest high-power UKAS calibrated Retrotec blower door equipment, our engineers have delivered testing and consultancy on some of the UK’s most prestigious and technically challenging developments, including Battersea Power Station and the Imperial War Museum London.
Our combination of accredited competence, deep technical expertise, and long‑standing industry experience ensures that every project receives reliable, repeatable and fully compliant air tightness testing to the highest professional standard.
📞 Contact Us Today
If you want to avoid costly failures and ensure your commercial building passes its air test first time, our expert team is ready to help. Please contact Darren on 07775623464 or email us at info@aptsoundtesting.co.uk